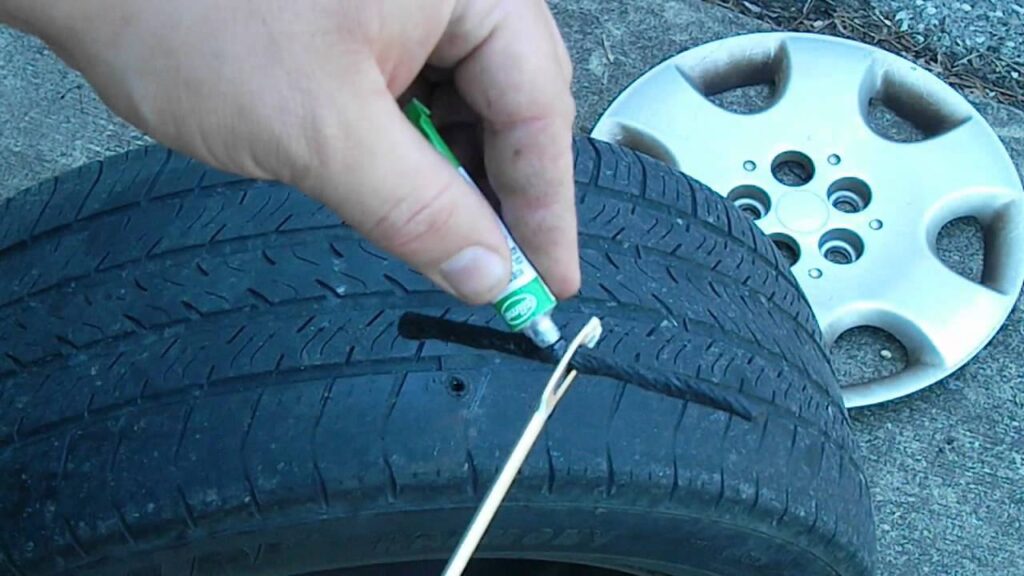
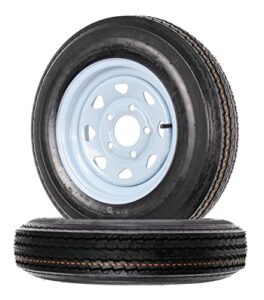
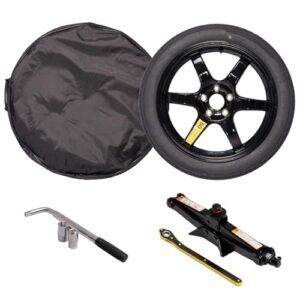
To repair a punctured tire, locate the puncture and use a tire repair kit to seal the hole. Ensure the tire is properly inflated afterward.
A punctured tire can disrupt your day and pose safety risks. Quick and efficient repair methods can get you back on the road safely. Carrying a tire repair kit can save you from lengthy waits for roadside assistance. These kits typically include sealant and tools to plug the hole, making the process straightforward.
Knowing how to repair a punctured tire is a useful skill for any driver. This guide will walk you through the essential steps to fix a puncture, ensuring your vehicle remains safe and operable. Regular tire maintenance also helps prevent future issues.

Tools And Materials Needed
Repairing a punctured tire can seem daunting. With the right tools and materials, it becomes a manageable task. Below, find everything you need to fix a punctured tire effectively.
Essential Tools
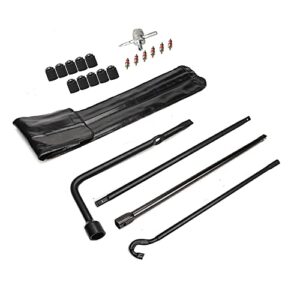
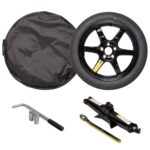
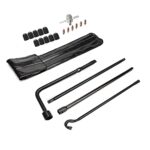
- Tire Iron: Used to remove the tire from the wheel.
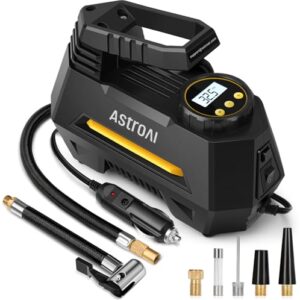
- Air Compressor: Re-inflates the tire after repair.
- Jack: Lifts the vehicle to remove the tire.
- Pliers: Extracts the object causing the puncture.
- Tire Pressure Gauge: Ensures correct tire pressure.
Recommended Materials
| Material | Purpose |
|---|---|
| Puncture Repair Kit | Includes plugs and tools to seal the puncture. |
| Rubber Cement | Strengthens the plug inside the puncture. |
| Gloves | Protects your hands during the repair. |
| Rag | Wipes away dirt and debris around the puncture. |
Ensure you have these tools and materials ready. This makes the tire repair process smooth and efficient.
Safety Precautions
Repairing a punctured tire can be a straightforward process. Still, safety precautions are crucial to avoid accidents. Follow these steps to ensure your safety and the safety of your vehicle.
Personal Safety
- Wear gloves to protect your hands from sharp objects.
- Use safety goggles to shield your eyes from debris.
- Wear bright clothing if you are near traffic.
These measures help keep you safe during the repair process.
Vehicle Safety
- Park the car on a flat surface.
- Engage the handbrake to prevent movement.
- Use wheel chocks on the opposite tire.
Securing your vehicle ensures it does not move unexpectedly. This is vital for both your safety and the repair’s success.
| Tool | Purpose |
|---|---|
| Jack | Lift the car |
| Wrench | Remove the tire |
| Tire Plug Kit | Seal the puncture |
Having these tools ready makes the repair process smoother and safer.
Locating The Puncture
Finding the exact location of a puncture can be tricky. But it’s crucial to repair your tire. Follow these simple steps to locate the puncture easily.
Visual Inspection
Start with a visual inspection of the tire. Look closely at the tire surface.
- Search for any embedded objects like nails or glass.
- Check for visible holes or cuts.
- Inspect the valve stem for any damage.
Sometimes, the puncture might be too small to see with the naked eye. Visual inspection is only the first step.
Using Soapy Water
If you can’t find the puncture visually, use soapy water. This method is highly effective.
- Mix soapy water in a spray bottle.
- Spray the soapy water all over the tire.
- Look for any bubbles forming. Bubbles indicate air escaping.
This method works well for finding small, hidden punctures. You can pinpoint the exact location of the leak.
Once you locate the puncture, you can proceed to repair it. Make sure to follow all safety guidelines during the process.
Removing The Tire
Removing the tire is a crucial step in repairing a punctured tire. It requires careful attention to detail and the right tools. Follow the steps below to ensure you do it safely and efficiently.
Loosening Lug Nuts
Before lifting the car, you need to loosen the lug nuts. Follow these steps:
- Use a lug wrench to turn the nuts counterclockwise.
- Do not remove them completely; just loosen them.
- Make sure all nuts are equally loosened.
Pro Tip: Use a cross-shaped lug wrench for better leverage.
Using A Jack
Next, you need to lift the car using a jack. Here’s how:
- Place the jack under the car’s lift point.
- Ensure the jack is on a flat and stable surface.
- Slowly raise the car until the tire is off the ground.
Safety Tip: Always use jack stands to secure the car before removing the tire.
| Tool | Purpose |
|---|---|
| Lug Wrench | Loosen the lug nuts |
| Jack | Lift the car |
| Jack Stands | Secure the car |
Patching The Puncture
Repairing a punctured tire can save you money and time. It’s essential to know how to patch the puncture correctly. This guide will help you understand the steps involved in fixing a tire puncture. Let’s dive into the details.
Plugging The Hole
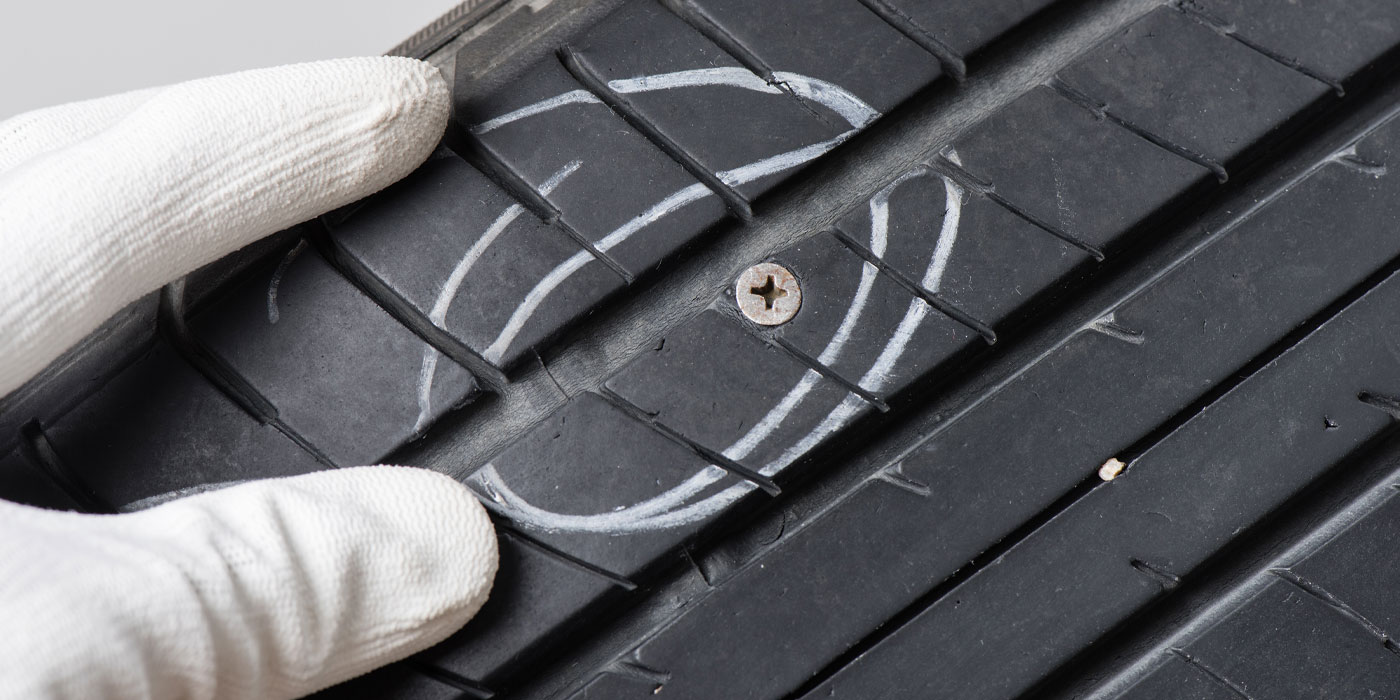
First, locate the puncture on the tire. Use a spray bottle with soapy water. Spray the tire and look for bubbles. The bubbles will show where the air is leaking. Mark the spot with chalk or a marker.
Remove the object causing the puncture. Use pliers to pull it out. Now, take a tire plug kit. Insert the reamer tool into the hole and twist it to clean and enlarge the puncture. This will make it easier to insert the plug.
Next, thread the plug through the insertion tool. Push the plug into the hole until only a small piece sticks out. Then, pull the tool out, leaving the plug inside. Trim any excess plug material sticking out.
Applying A Patch
Sometimes, plugging alone might not be enough. You may need to apply a patch. First, remove the tire from the rim using a tire iron. This step ensures you can access the inside of the tire.
Clean the inside surface of the tire around the puncture area. Use a buffer tool to roughen the surface. Apply rubber cement to the roughened area. Let it dry for a few minutes.
Take the patch and peel off its backing. Press it firmly onto the glued area. Use a roller or your hand to ensure the patch sticks well. Make sure there are no air bubbles under the patch.
Reinstall the tire onto the rim and inflate it to the correct pressure. Check for any remaining leaks using the soapy water method. If there are no bubbles, your patch job is successful!
Reinstalling The Tire
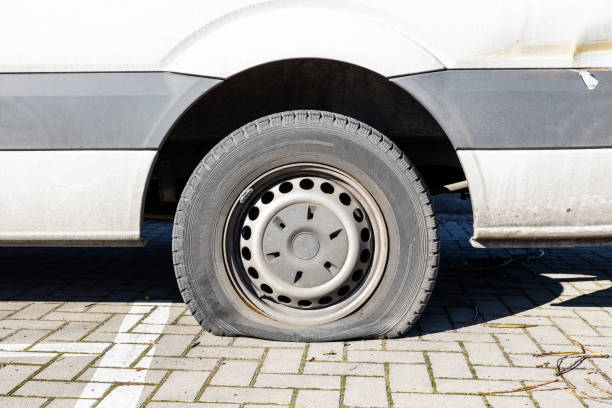
Once you’ve repaired the punctured tire, the next step is to reinstall it. This part is crucial for ensuring your tire is secure and safe to drive on. Follow these simple steps to get your tire back on properly.
Securing The Lug Nuts
Place the tire back onto the wheel studs. Push it in until it fits snugly.
- Start by hand-tightening the lug nuts onto the wheel studs.
- Use a star pattern to ensure even pressure.
- Make sure each nut is hand-tightened before using the wrench.
Using your lug wrench, tighten the nuts further. Follow the star pattern again.
This ensures the tire is secured evenly and prevents wobbling.
Lowering The Jack
With the tire securely in place, it’s time to lower the jack.
- Slowly turn the jack handle counterclockwise.
- Lower the vehicle until the tire touches the ground.
- Once the tire is on the ground, remove the jack completely.
Now that the vehicle is lowered, finish tightening the lug nuts. Use the wrench to make them as tight as possible.
Double-check each lug nut to ensure they are secure.
| Step | Action |
|---|---|
| 1 | Hand-tighten lug nuts in a star pattern |
| 2 | Use wrench to tighten lug nuts in a star pattern |
| 3 | Lower the jack slowly |
| 4 | Finish tightening lug nuts |
With these steps, your tire should be securely reinstalled. You’re now ready to get back on the road safely.
Inflating The Tire
After repairing the puncture, it’s essential to inflate the tire properly. This ensures your tire functions correctly and keeps you safe on the road. Follow these steps carefully to make sure you get the best results.
Checking Air Pressure
Before inflating, check the air pressure in your tire. Use a tire pressure gauge to get an accurate reading. The correct pressure is usually listed inside the driver’s door or in the owner’s manual.
- Remove the valve cap from the tire.
- Press the gauge onto the valve stem.
- Read the pressure on the gauge.
Compare the reading with the recommended pressure. If it’s low, you need to add air. If it’s high, you may need to release some air.
Using An Air Compressor
An air compressor can make inflating your tire quick and easy. Here are the steps to follow:
- Attach the compressor hose to the valve stem.
- Turn on the compressor.
- Monitor the pressure as the tire inflates.
- Stop the compressor when the desired pressure is reached.
- Remove the hose and replace the valve cap.
Make sure you inflate the tire to the recommended pressure. Over-inflation or under-inflation can cause issues while driving.
| Step | Action |
|---|---|
| 1 | Attach the compressor hose |
| 2 | Turn on the compressor |
| 3 | Monitor the pressure |
| 4 | Stop when desired pressure is reached |
| 5 | Remove hose and replace valve cap |
By following these steps, you can ensure your tire is properly inflated and ready for the road.
Final Checks
After repairing a punctured tire, it’s crucial to perform final checks. These steps ensure your tire is safe and ready for the road. Below are the essential final checks to follow:
Testing For Leaks
Before hitting the road, check for any remaining leaks. Inflate the tire to the recommended pressure. Use a spray bottle filled with soapy water. Spray the soapy water around the repair area. Watch for bubbles. Bubbles indicate a leak. If you see bubbles, the repair was not successful. In that case, repeat the repair process.
Ensuring Proper Alignment
Proper tire alignment ensures a smooth ride. Misaligned tires can cause uneven wear. To check alignment, observe your car’s handling. If the car pulls to one side, alignment may be off. For precise alignment, visit a professional. They use specialized tools and machines. Proper alignment improves tire life and safety.
| Check | Action |
|---|---|
| Leaks | Spray soapy water, look for bubbles |
| Alignment | Observe handling, visit professional if needed |
Performing these final checks ensures your tire is ready. Your safety and the tire’s lifespan depend on it.
Frequently Asked Questions
Can A Punctured Tire Be Fixed?
Yes, a punctured tire can often be fixed. Use a tire repair kit or visit a professional. Ensure the puncture is not too large or near the sidewall. Regularly check tire pressure and condition for safety.
Is It Safe To Patch A Punctured Tire?
Yes, patching a punctured tire is safe if done correctly. Ensure the puncture is small and repairable.
How Do You Fix A Punctured Tire At Home?
To fix a punctured tire at home, first locate the puncture. Remove the object causing the puncture. Use a tire repair kit to patch the hole. Reinflate the tire to the recommended pressure. Check for leaks by applying soapy water around the patch.
Can You Repair A Tyre Puncture Yourself?
Yes, you can repair a tyre puncture yourself. Use a tyre repair kit and follow the instructions carefully. Ensure the puncture is small and the tyre isn’t severely damaged. For major issues, seek professional help. Always check the repaired tyre for leaks before driving.
Conclusion
Repairing a punctured tire is a valuable skill for any driver. Follow the steps to ensure a safe journey. Practice makes perfect, so don’t hesitate to try. With the right tools and knowledge, you can fix a flat tire quickly.
Stay prepared and keep your vehicle in top condition. Safe travels!


